
Build your own cloud on a Raspberry Pi in one hour
As I had a growing number of different devices I needed a cloud service. However, my expectations are high. It should be realiable and cheap and most importantly, I want full control of my data. After some reasearch, I found a solution that fitted all of my needs, the open source project Nexcloudpi. I hosted it on a Raspberry Pi, as the device is perfect for everyday use. It is cheap, quiet and low in energy consumption.
Some time ago, the installation was quite difficult, but now with the NextcloudPi image it is much easier. In the following steps I show you how to host your own cloud.
Instruction
1. On a pc, download the image of the NextcloudPi. Then plug in the microSD with an adapter. Unpack the file with 7-Zip and write it to the microSD with Win32DiskImager. Be careful to select the right drive, I lost some vacation pictures due to inattentiveness.
2. Then, add the microSD to the raspberry pi and plug in the mouse, keyboard, hdmi and finally the power cable. The first boot process will take a bit longer. When you are asked to log in use “pi” as username and “raspberry” as password. Afterwards, you should immediately change the passwords in the terminal with the command:
passwd3. You can look for your IP address with:
sudo ifconfigNow, if you enter the ip in the address bar of a browser, you should see a page with one password for the cloud and one password for the configuration. After you clicked on activate, the cloud is ready to use in the local network. You will then be forwarded to port 4443 for the configuration.
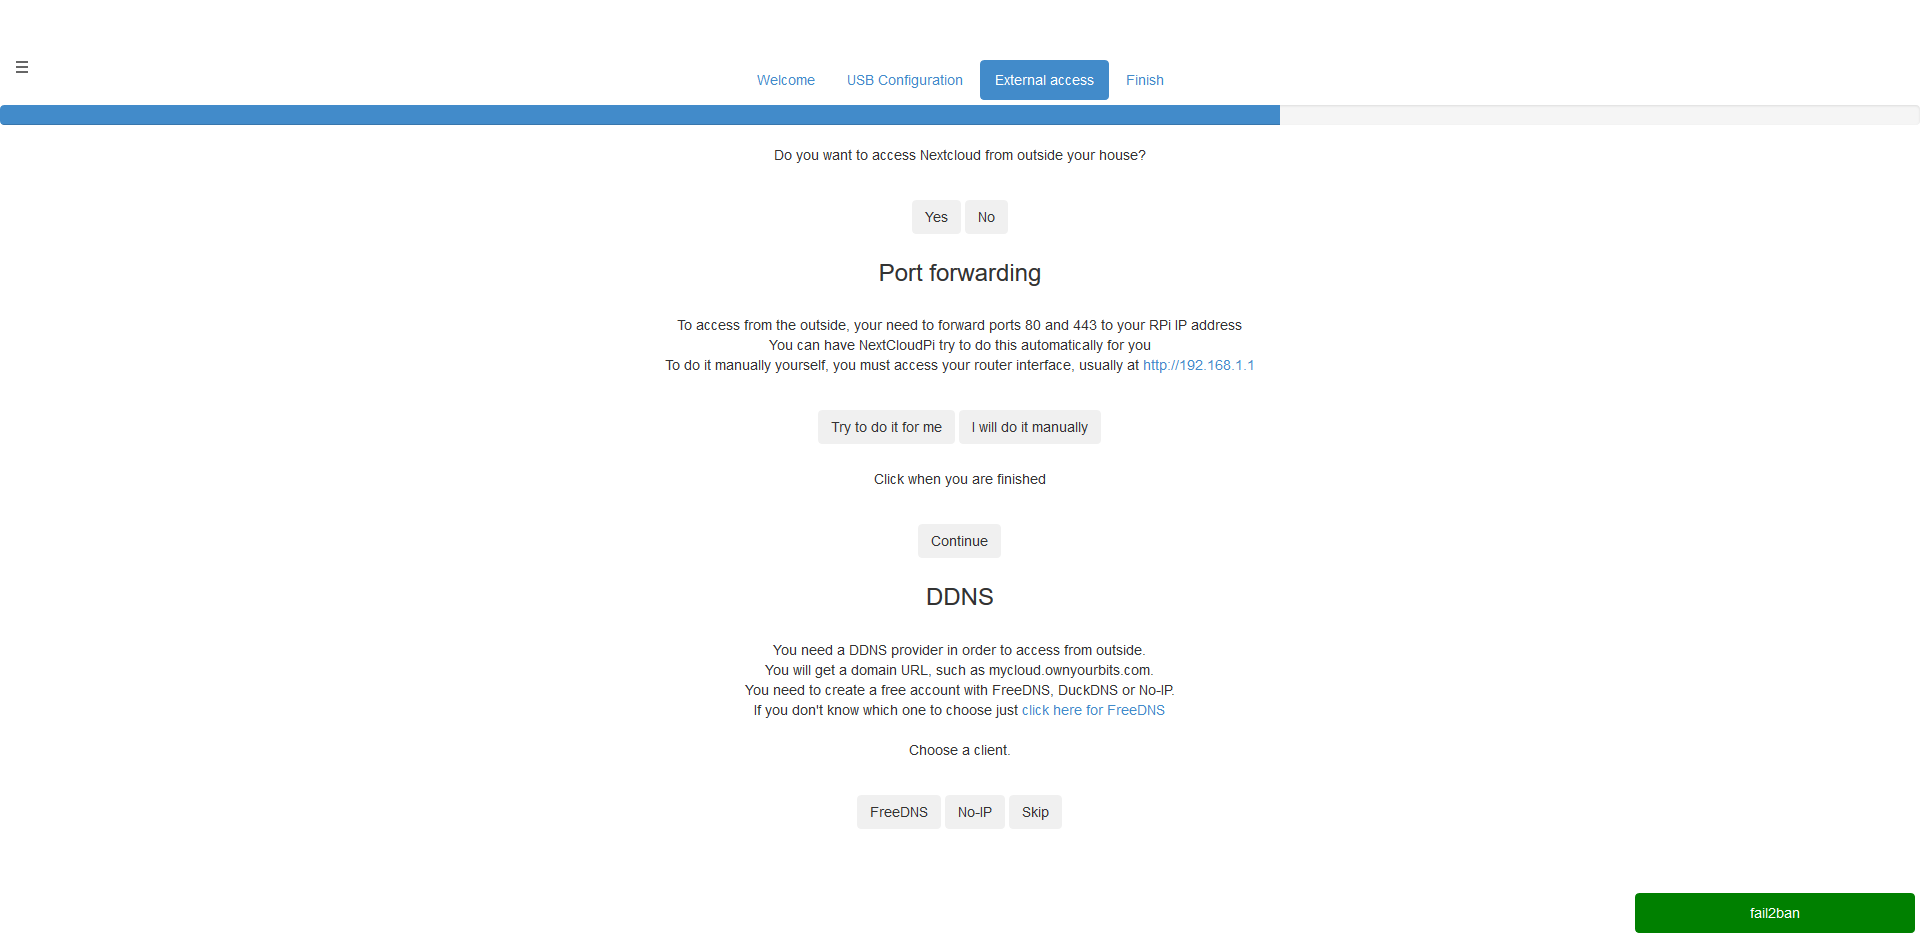
4. The configuration wizard guides you through the set up of the Nextcloudpi. For the first time, I would only use the microSD as storage. You can later add usb drives but this can sometimes cause problems. The wizard also asks if you want to use the cloud via the internet. If you select yes, it installs the password protection fail2ban.
5. In a next step, you will need to forward the port 443 (and 80) on the router to the raspberry pi, so that it can receive data. For some routers it can do it automatically, otherwise you will need to log in to your router configuration and do it manually. Just select an incoming port on the router and assign it to the IP of the raspberry pi on port 443.
6. It is likely that the public ip address of your router changes from time to time. Therefore, programs that want to reach the cloud always need to know the current IP of your router (which forwards them to the local cloud). To translate the changing public IP into a stable web address, you need a ddns service. Also here, you will get help from the wizard. You just need to create a free webaddress from one of the providers and the pi will send them a message everytime your ip changes.
7. Now, if you want to reach your cloud in the local network you can use the ip and in the internet you use the ddns address with the port of the router (e.g. address.ddns.com:600). Congratulations, you are now the master of your data.
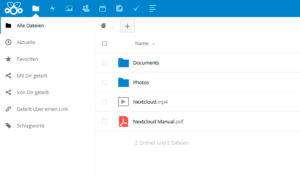
8. The fun part starts here. You can synchronize your calendars with Nextcloud, make polls for events, collaborate like in Google Docs and much more.
Note: I found out that the Raspberry Pi 3b+ is perfect to synchronize documents but to weak for large media files like movies. You might want to install Nextcloud on a stronger PC if this is an issue. There is now even the possibility to use the Nextcloudpi configuration wizard on any Debian system.


