How I built my own Linux tablet with the Pine A64 and Armbian
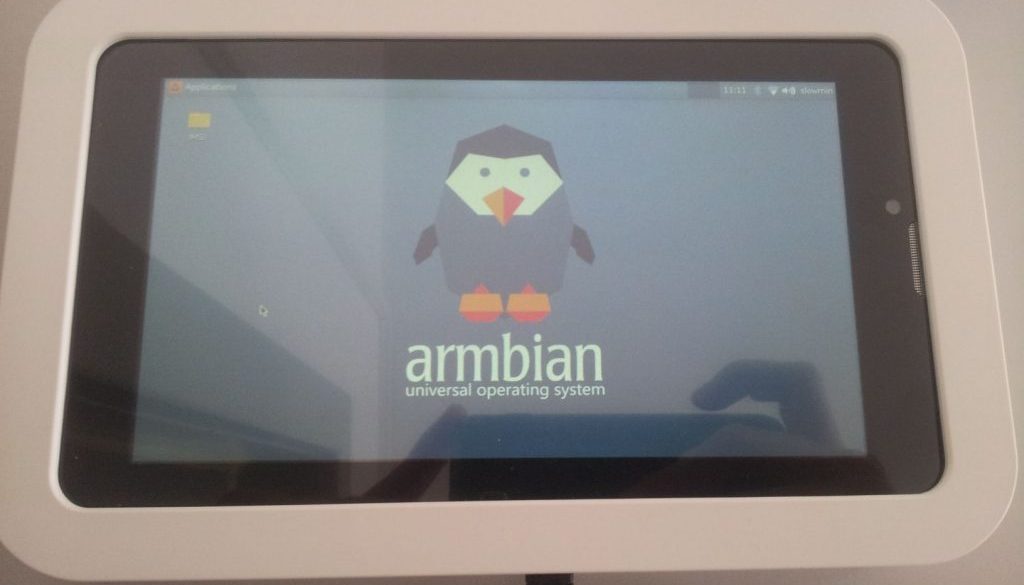
As an open source enthusiast it was my dream to build an own linux tablet. I kindly received a touchscreen display and a case from Mr. Lim, the founder of Pine64. So the other parts I needed were a Pine A64, a microSD, a powerbank (10000 mAh) and a wifi dongle. On the Pine I previously installed Armbian which is perfect for my build.
How to screw the Pine casing together
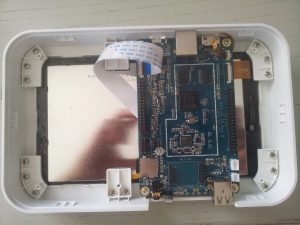
I found a useful YouTube tutorial on how to screw together the case (just watch the second part as the guy makes a mistake first). It took me about 20 minutes to get everything together. One thing to note is that you shouldn’t completely pull out the black covers of the display jacks. It is enough to fold them open and then insert the display cable. If the case is closed, you can access almost everything except the microSD and the Gpio pins. However, inside the case there is still enough space to add sensors.
Activate the screen in Armbian
-
- In the terminal, enter:
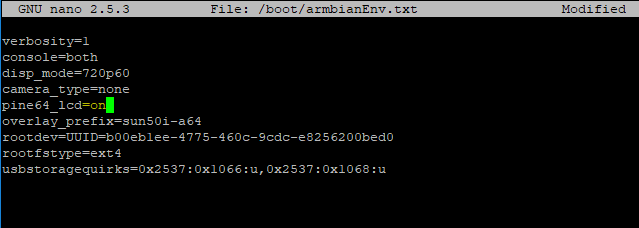
sudo nano /boot/armbianEnv.txt
- There, change pine64_lcd=off to pine64_lcd=on
- Back in the terminal, enter:
sudo nano /etc/modules
- There, add a line with gt9xxf_ts
- Now, shutdown and boot up again. After a few seconds you should see the Armbian desktop (make sure you installed the version that has graphical desktop supported).
- You will probably need a touchscreen keyboard. To install it, enter in the terminal:
sudo apt-get install onboard
You can start it the first time in the menu under Accessories. There is also the possibility to customize the behaviour of the keyboard.
- In the terminal, enter:
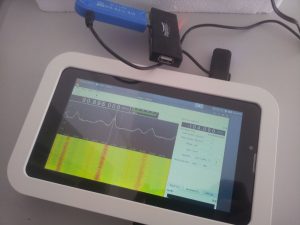
So far, I’m positively surprised by the responsiveness of the touchscreen. I had a lot of fun using my own linux tablet. With an RTL-SDR dongle attached and minimal usage the power consumption was about 800mAh for 1h 15min. during the upgrade process. I will test in future how long it can run in real life situations with a 10000 mAh battery.

